
What to Put in a Wire Harness Drawing: A Checklist for OEM Buyers
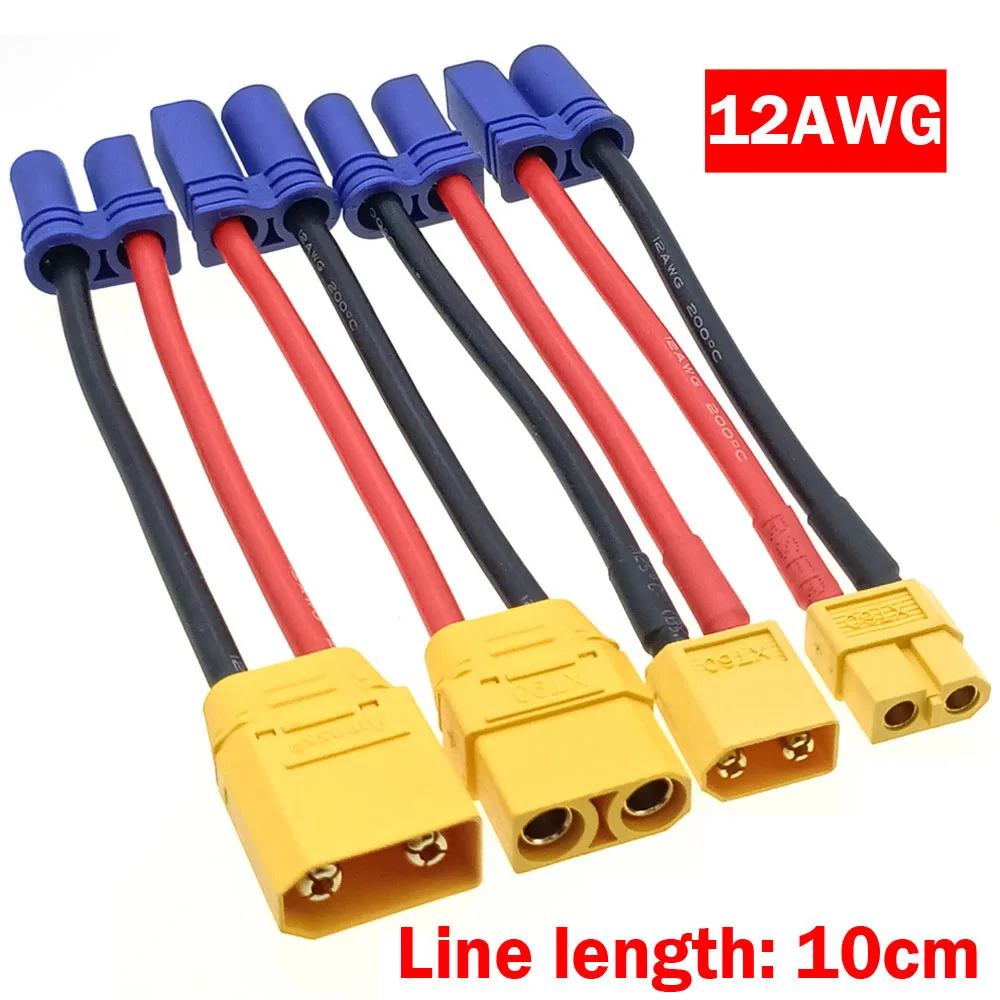
Most quotation surprises begin with missing information rather than a high factory price. A harness drawing that answers the questions below allows a faster, more accurate quote and fewer changes after first article.
- Define length end-to-end or explicitly exclude terminals.
- Give connector series and part numbers, not photos alone.
- State continuity, pull-force and hi-pot requirements before production.
1. Electrical definition
- Wire gauge and conductor type for every circuit.
- Insulation material and temperature rating.
- Voltage, continuous current and shield or drain-wire requirements.
2. Connectors and terminals
List the exact series and mating half, for example XT60, EC5, JST XH or a specific terminal part number. If only a photo is available, include all four sides, the mating connector and key dimensions.
3. Length and tolerances
Length is the most common source of rework. Specify whether it is measured end-to-end including terminals, then add a tolerance such as ±5 mm. Tight tolerances increase cutting and inspection time.
4. Mechanical construction
- Sleeving, braid, heat-shrink, boot or overmould.
- Branch points and the position of each breakout.
- Labels, clips, grommets and orientation.
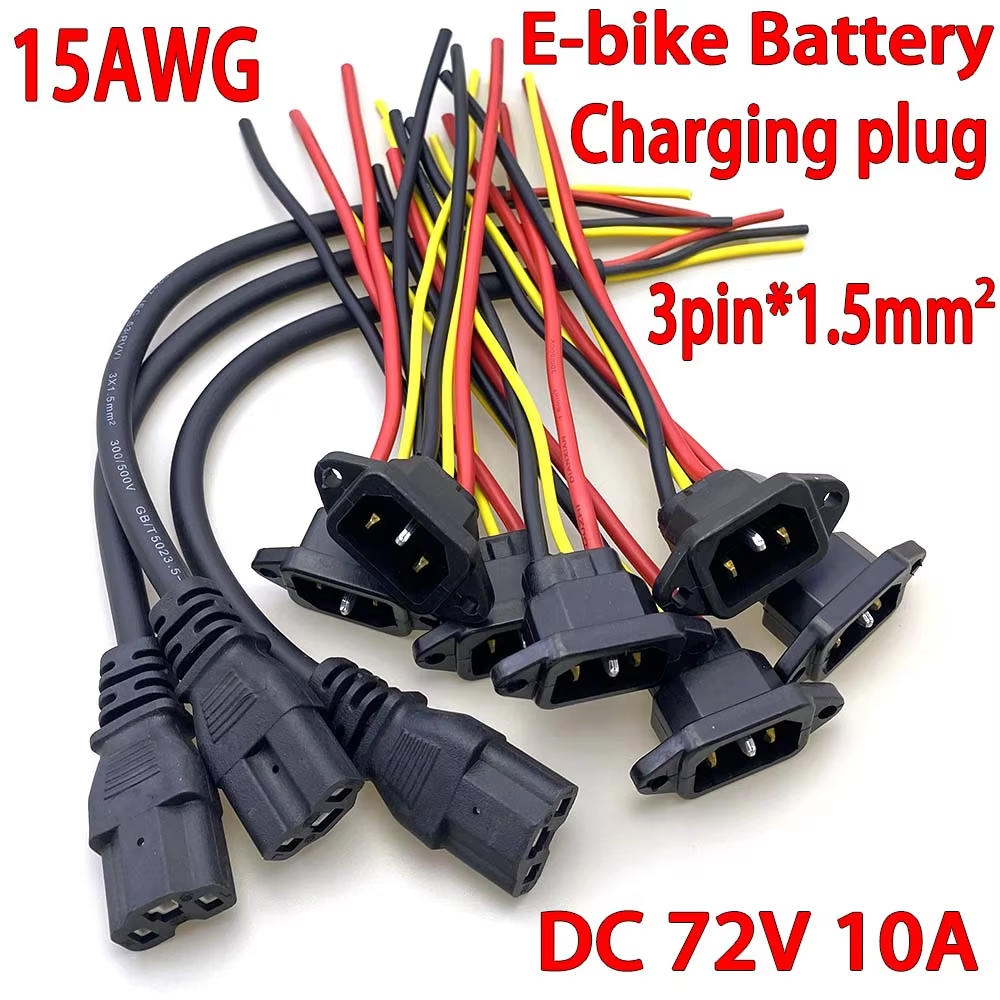
Battery Connector Plug Three Vertical Charging Socket With Wires 10A Cable 15AWG For 36V 48V 60V Universal E-bike Scooter
E-bike charging socket and wire assembly.
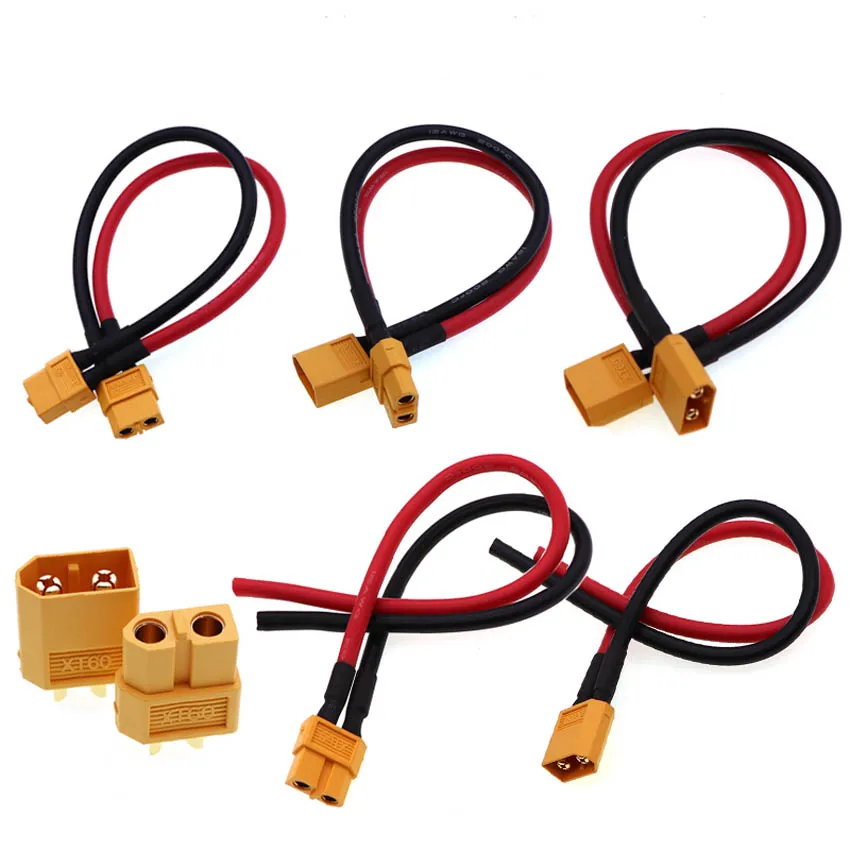
12AWG XT60 Male Female Conversion Plug Connection Cable With Silicone Extension Lead Wire Battery Connector To 10/20/50/100CM
XT60 silicone battery conversion lead.
5. Quality and packing
Define continuity and short testing, crimp pull force, hi-pot where relevant, AQL level and whether a first-article report is required. Include retail packing or labelling requirements before quotation; changing them after production is expensive.
Have a harness drawing?
Send the drawing, BOM or a sample photo with dimensions. We will return price, tooling requirements and lead time.
Cavity map and revision control
The drawing should show the connector mating face, cavity numbers, terminal part numbers, gender, keying and every wire colour or label. List branch points and connector orientation so two suppliers can produce the same assembly.
- Define length from a clear datum and show each branch separately.
- State whether the length includes terminals, seals or connector housings.
- Add a revision block, date, drawing owner and change description.
- Reference the approved sample, wire datasheet, terminal datasheet and test plan.
- Record approved deviations instead of relying on chat messages or handwritten notes.
Inspection record
Require first-article measurements, continuity and short checks, crimp cross-sections, pull-force results, label verification and packing confirmation. The inspection record should identify the exact drawing revision produced.
Continue with crimp, solder and ultrasonic process selection, or use the connector sourcing hub.